Services • Micro Metrology
CT Scanning
Our in-house, high-resolution CT scanning provides accuracy and repeatability at the sub-micron level. It is an invaluable tool for our customers who have micro medical part designs with tight tolerances or have many drawing dimensions or dimensions that are impossible to measure — or both.
With standard metrology equipment, like OGP vision systems, some part dimensions are difficult to capture: complex datum alignments, multiple cross-section callouts, draft angles, hidden features like thin internal walls, small radii, and multiple concentric, perpendicular and flatness callouts.
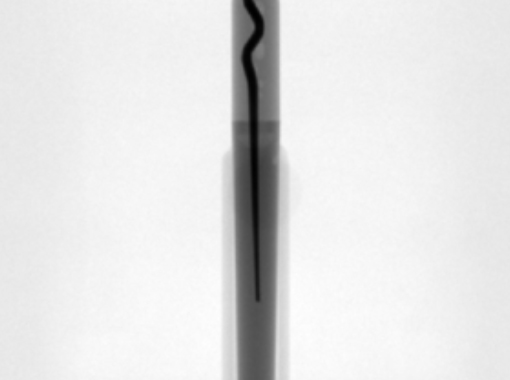
With CT scanning, however, it’s not only possible but highly accurate. We can identify sinks and voids, quantify defects, and measure features and dimensions — including internal features. We can also discern between materials with different densities, whether plastics or metals, this also helps us analyze and measure overmolded parts.
CT scanning is also highly efficient, saving days of measurement time. For example, if your design requires 50 dimensions to be measured, standard metrology techniques typically require 3-4 days. CT scanning requires only 1 day.
We can also create part-to-CAD overlays, which are visual representations of the 3D point cloud of the scanned part compared to the 3D CAD model of the design. Because CT measurements are 3D, GD&T becomes possible and we don’t need to simulate datums. This eliminates issues caused by fixture and operator variation.


