How are the main processes and strategies different for micro molds vs. macro molds?
1. Design
Smaller runners, smaller gates, and because of the tiny details in the designs, most of the ejector pins are very small (sometimes as small as 0.010 inch). There also are much tighter fits and tolerances, and venting is minimal compared to macro-molds.
2. Build
Building these tools is challenging. Precise planning is required, as well as close tracking through milling, grinding, wire and sinker EDM. In all of these areas, it is crucial to be as accurate as possible to avoid cumulative error. With extremely small details, any slight inaccuracy can result in a major issue. Also, micro-molds for bioabsorbable products are unique, as they are designed and constructed differently than molds for non-bio-absorbable parts.
3. Inspect
As we go through the mold-building process, each tooling department is required to inspect and verify that the end product produced is dimensionally correct before handing it off to the next department.
4. Maintain
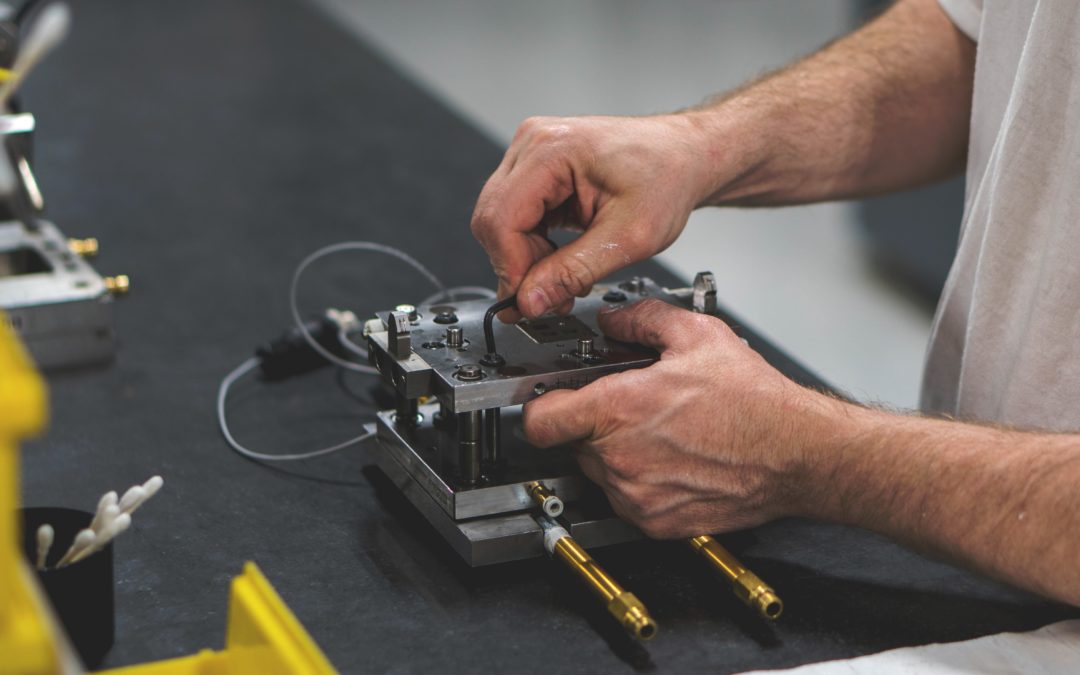
One of the main differences with micro-molds is their physical size, which makes them much easier to handle during assembly and disassembly. The mold core, cavity, inserts and side actions are generally tiny and extremely delicate, which requires very deliberate methods of disassembly and assembly for cleaning and replacing any worn parts. Cleaning some parts of the mold may require magnification and special tools.
5. Repair
Generally, damaged micro-mold components must be replaced, either with a rebuilt piece or spare components. Micro-welding a damaged component is rarely an option in micro-tooling, but can be used in certain cases if it does not compromise the integrity of the mold steel.
Learn more about MTD’s micro-tooling process here.